Hello everyone, in this blog we will show you how to install SAP HANA Cloud Connector for establishing secure connection with on-premise systems. Lets get started.
Prerequisites
JDK 7 or higher needs to installed. Click here to see the JDK installation procedure.
Step-by-Step Installation Procedure
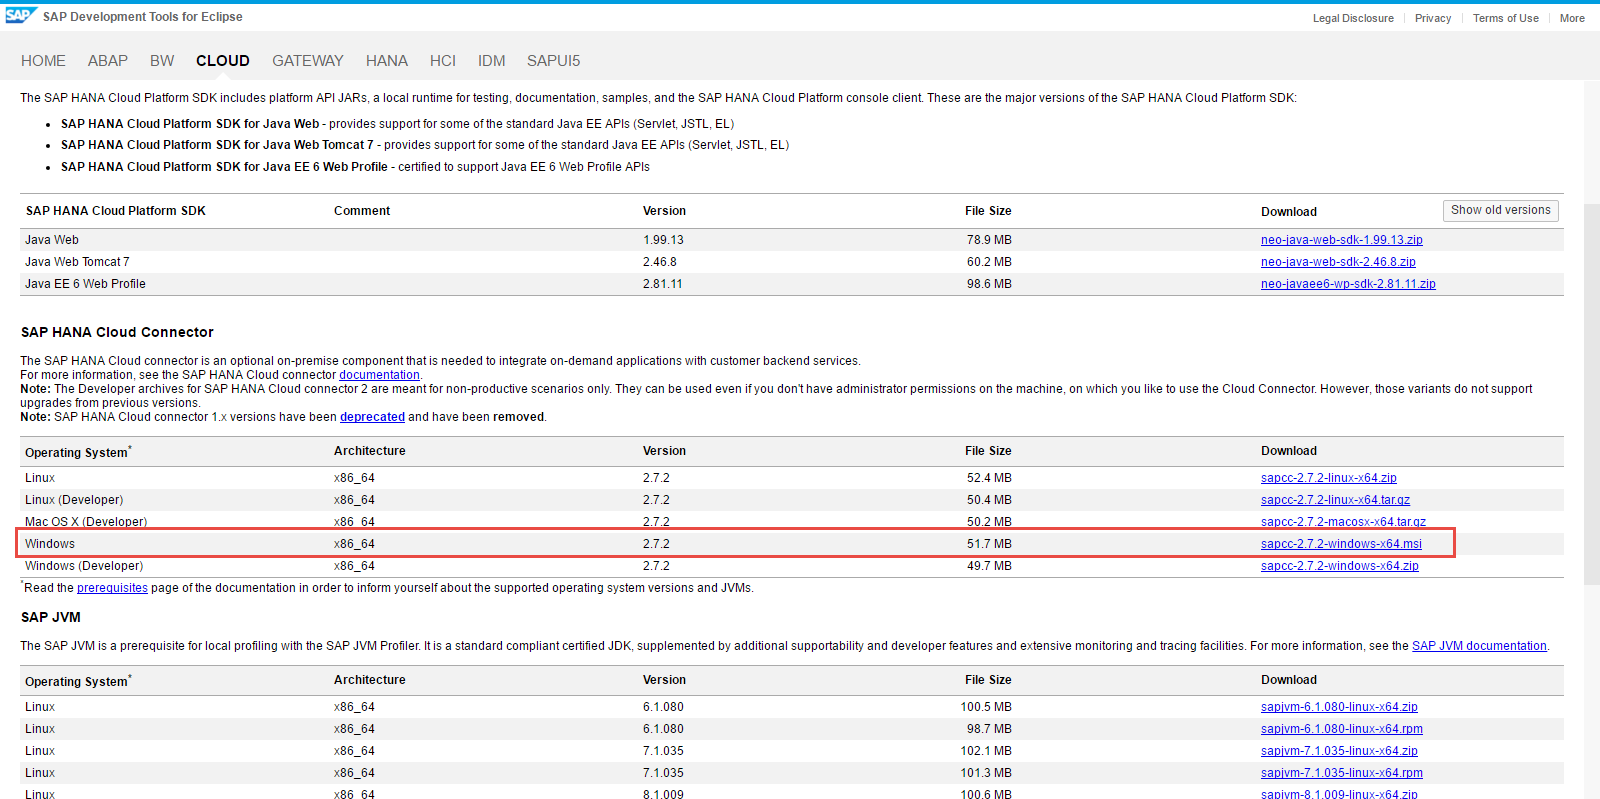
1. Download the cloud connector software from the SAP HANA Cloud Platform tools site. Click here to navigate to the site.
2. Navigate to the SAP HANA Cloud Connector section and choose your operating system and download the SAP Cloud Connector. In my case it is windows 64 bit machine.
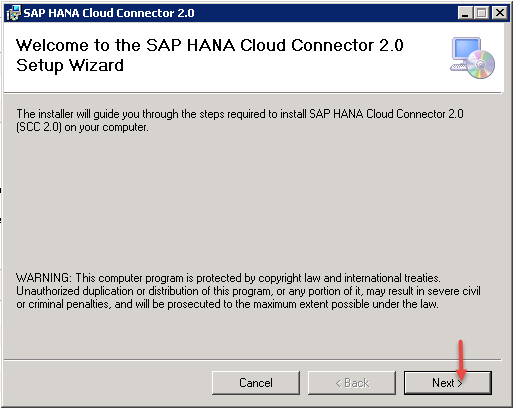
 3. Once the download is finished, double click on the MSI installaer to start the SAP Cloud Connector installation.
4. Click on Next on the welcome SAP Cloud Connector 2.0 setup wizard.
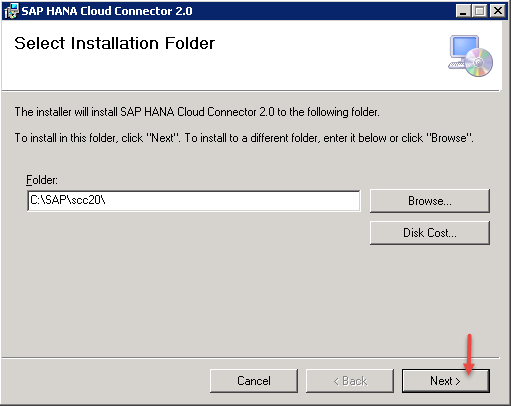
 5. Choose any install folder or leave it to default and click on Next.
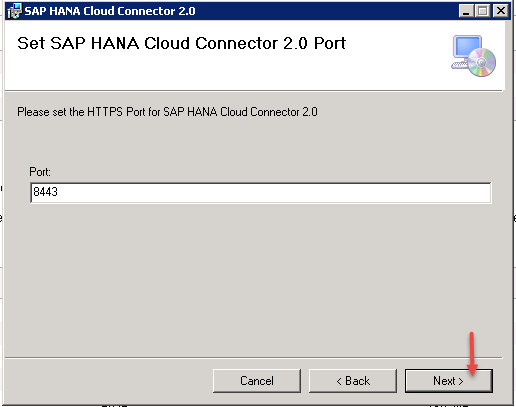
 6. Choose the port number of your choice or leave it to default and click on Next.
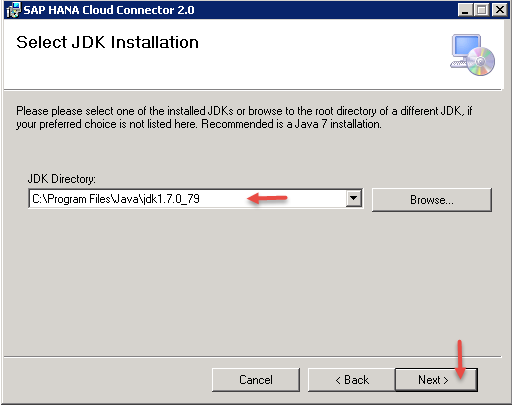
 7. In the JDK Installation window, choose the folder in which you have installed the jdk software and click on Next.
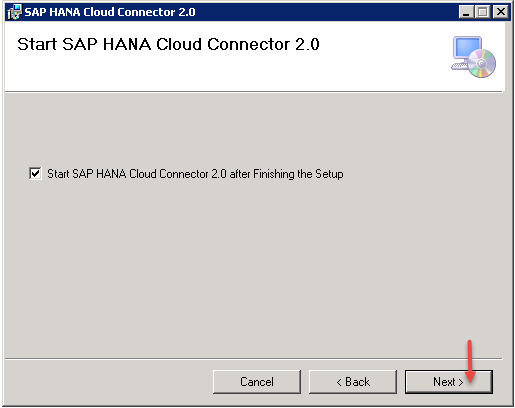
 8. Click on Next.
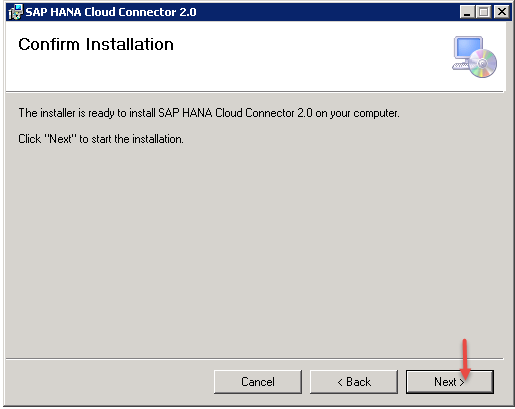
 9. Click on Next to confirm the installation.
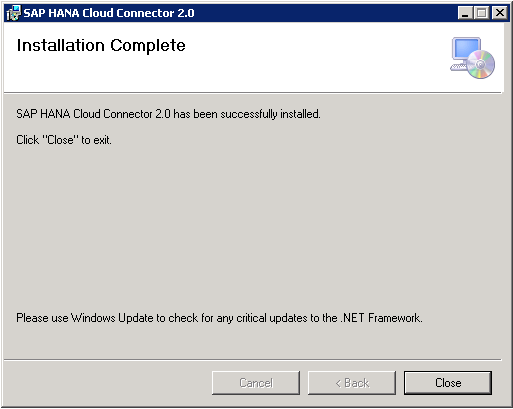
 10. SAP Cloud connector installation will start and it will take less than an minute to complete the installation. After successful installation you should the screen like below.
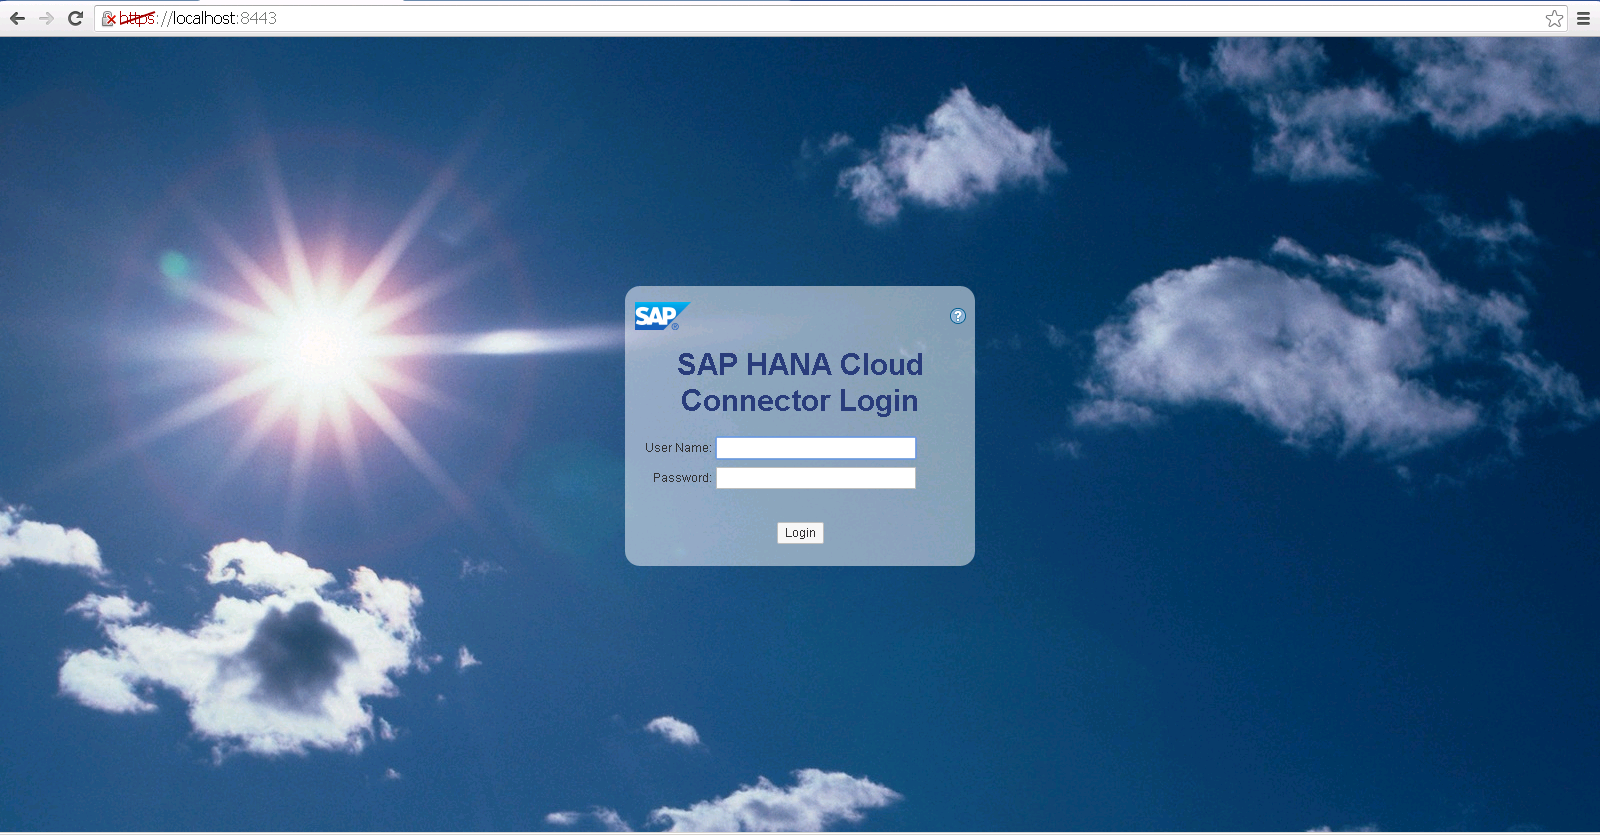
 11. To launch the cloud connector administration UI copy this URL https://localhost:8443 and paste it any browser. You should see the administration log in screen like below.
Congrats you have successfully installed SAP Cloud Connector on your local machine.In our next blog you will learn how to connect backend systems with HANA cloud trail instance. Stay tuned for more SAP HANA Cloud tutorials. Feel free to let us know your comments.

The post How to install SAP HANA Cloud Connector 2.0 appeared first on SAP Fiori,SAP HANA,SAPUI5,SAP Netweaver Gateway Tutorials,Interview Questions|SAP Learners.